Showing posts with label More Paper Than Shoes. Show all posts

Thursday, January 30, 2014

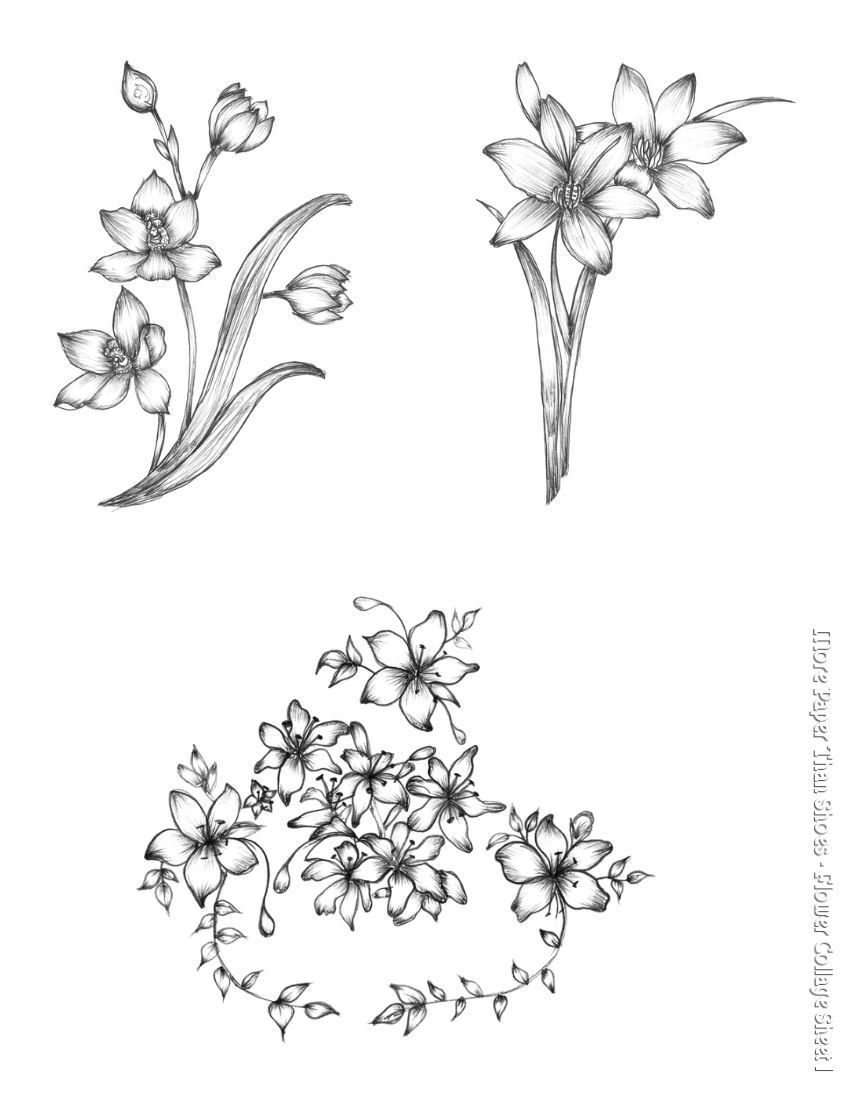
Coloring Flowers

I'm not sure about the rest of you but I'm so ready for spring!! I want to see flowers popping up and showing off their beauty. We have had a very mild winter, except these last two weeks in which we got a few inches of snow. I would rather shovel sand than snow any day!

(right click and open in another tab or window, then right click on the image and save)

I thought I would share with you these lovely images of flowers. These make fabulous tags or images to place on cards. Color them in with your color pencils, Copic markers or whatever you might have on hand. You can cut them out with your Spellbinders Nestabilities dies too!
Hope you have fun creating some lovely projects with these.
Don't forget to show some love and leave a comment below! 

Enjoy!
Anna


Monday, November 11, 2013

The Knot's Industrial Gala 2013

Wow! It feels like ages since I blogged! So many wonderful things are happening for me that I don't know where to start, hmmm.. lets start with the "The Knot" Industrial Gala.

My wonderful friend Brian Worley sent me a message a few months ago and asked if I would want to help him with an art installation that he was planning for the gala. I'm so glad that he couldn't see me when I got the message. I was doing a very outrageous happy dance. I had a very rough summer and this is what I needed to get my passion back for making fabulous paper flowers. When we talked on the phone I had that "oh my goodness this is not happening to me, am I dreaming?" feeling but keeping my cool like always LOL. We hammered out the details and we were on cloud 9.


The designs and linens he wanted to use were fabulous. A recipe for success! That was not the only thing that was fabulous about this event. The location was too. The New York City Public Library on Madison Ave! What! Where! Are you sure??? LOL  now I knew that I was either dreaming or on one of those candid camera shows. 


After the shock wore off, I got to work and we started making magic! I kept laughing to myself, "how in the world am I going to get these there?" There was NO WAY I was going to run the risk of mailing these flower to New York and they get lost or damaged. So, I made the decision to drive. A decision I would later regret!


We packed up the car with all the flowers, tools and everything else that I might have needed to assemble the bouquets when I got there. It was very humorous, think of a clown car with at least 8 people in it. We were on the road to NY and I was getting very nervous. There were a lot of  "first times" for me about this trip. I had never done large bouquets like this before, this was my first time going to NY and my first time meeting Brian in person! So butterflies were dancing in my stomach. 
We finally got to NY and then the nightmare of driving really hit home LOL. I can't even describe what happened to us. Not only was that a mad house of dysfunctional traffic but our street was blocked off for a parade that was scheduled for the next morning. Instead of the hotel parking us we had to park ourselves. We finally found a parking garage that was several blocks away BUT WAIT... how were we going to get the stuff to the hotel. Another humorous moment. I really could write a book on the adventures of Anna and New York. It would keep you laughing for ages :) 


The next day was much better! We slept in glitter and I actually think we might have ingested some too! Our hotel room was covered in glitter. I was up late the previous night hanging out a window and glitter blasting some flowers. It was definitely in the air of New York City that night! This is what our hotel room looked like while we were assembling the bouquets. 


It was almost show time! 


You can find more wonderful photos from the event by clicking HERE!


I have to take a moment to thank Brian Worley for giving me this opportunity. Not only is he a wonderful client to work with but he has become a wonderful friend and mentor. I also got the pleasure of meeting his wonderful sister and mother, which I adore as well! 
Brian and I are back at it again, working on some thing special for the people who love DIY books. So keep checking back for more of our adventures and what we have in store for you!  


Photo below:
My Mother (Grace Walters), Brian Worley, and ME! :) 

Photography Credit: Carla Ten Eyck

Don' forget to check out this wonderful video of the Gala by "I Do" films

Saturday, December 15, 2012

MPTS VIP Class


MPTS VIP Class

Learn how to develop an understanding of color and design elements that work well together. Each week we will be focusing on a different design and technique. This class will help enhance your knowledge of the art of paper flowers. People who are wanting to learn more than just simple flowers, this is the class for you! 
I will show you techniques that will help you create your own fantastic paper flowers. 
Paper might be flat but there is a way to transform it into something beautiful. 

This is a 3 week course.

Student participation is required.
Serious students only!


Here is your chance to find out how I do it, why I do it 
and how far we can take the limits of paper!


Monday, October 22, 2012

Paper Flower Class for November

Paper Flower Holiday Packaging and Decor

This is my favorite time of year! I'm so excited about this class. I love decorating my packages for the holidays using paper flowers. It's such a treat to get a gift that looks too good to open. I love decorating around my tree with the packages too.

Everyone knows that I love creating paper flowers and in this class I want to share my passion for them with you. I will teach you several flower designs using punches, SVGs and PDF Templates. We will use these flowers on our packages and other decor items in the class. I also love adding filler items to my flowers to make beautiful arrangements and decorations. I will show you how to make some filler items and how we can incorporate items from the store to make wonderful holiday arrangements.


We will create small to X-large flowers in this class.

We will push our limits when it comes to standard flower making.


Want to make beautiful flowers?

Then this is the class for you!
 

Wednesday, October 10, 2012

The Witches Ball


It's that time again, for all the witches to start brewing up some devilish potions for Halloween. Let me take you to their drawing board of inspiration for their next ball. 


Did you get one of these in the mail? You didn't! Oh man you need to head on over to SweetlyScrappedArt and get some before they are all gone! Our witches are using these for special invites for their guest at their ball. On the back they have wrote the date and time when this wicked event starts!


Looks inviting doesn't it? Well, lets not get to warm and fuzzy just yet. Never judge a door by the outside. It's whats behind the door that you should worry about! Hehehe...(laughing in my witchy voice)

Once we saw children outside playing and now we have found out the hard way what happened, YIKES!

Be careful if she offers you tea. Looks like that bottle doesn't have any cobwebs on it. That means only one thing! It's new and she is waiting for a chance to use it on someone.

WAIT! Watch your step. Oh no..this must have been the one they were talking about. Yes, that's right, she is the one that tried to clean the house by making a special potion for the dust bunnies. Well, looks like that back fired! We heard that the dust bunnies were so angry at her for asking them to clean up after themselves, that they tried pulling her down to their level to taste the dust!   


Wow....where is molly maid when you need them! I wonder how big this spider is that has taken up residency here in the chandelier. 

Lets see what is waiting for us out back where the ball will be held.

Looks like guest are already arriving to the event. 

Here is a photo of some of their guest from their last ball. Unfortunately, none of them will be showing up this year. The last time anyone see them was when they were posing for this photo. Hmmm....

This is where they will be serving up all kinds of one of kind never to be seen again treats! 

Creepy but cute!

Wonder what happen to the horses? Don't look too close at what they serve you for the main course. 


Well, I have my costume for this deathly event! You can find it here at Glamtastik
 How about you? May I suggest a few...

Dress by AliceAndWillow

Dress by GLAMOURGIRLCHIC

Dress by Glamtastik

Let see who is the talk of the town after this party!

Don't forget your accessories

Necklace by DebraDane

Poison ring, a must at these types of events!

Made by ShablulitShop


After seeing all this inspiration, I do suggest that you and I stick together at this ball. 

Until next time....
((HUGS))
-Anna


Monday, September 3, 2012

Altered Frame - "A Vintage Little One"

Let me just go on the record to say that I should be married to Graphic 45. Well, at least dating it..LOL. I'm madly in love with their paper. I love the vintage feel to ever piece of paper they make. I have lot of this collection and love playing with it. I used the "Little Darlings" collection on this frame. I was digging around in my stash and came across some of the pink paper in this collection and had to play with it some how.  Then I eyed a Dollar Tree frame that I had that would go perfect with the images that were flying around in my head. 


I love creating in front of my Ustream fans. They help motivate me to play around like this and have fun. They will keep me going for hours. I could sit and create for them all day if I had the time! 

The frame I used is from the Dollar Tree. These are adorable little frames and they have many styles to choose from too. People often walk by these frames and say ewww...that looks cheap. Well, give it to me and I will bring it to life and have people saying wow...that looks pretty. Don't ever judge a frame by its cover..LOL. 


While you are at the Dollar Tree walk on by their floral section. The ferns that are sticking out on the side of the flower sprays are from Dollar Tree too. You get a lot on one stem. They make great fillers in your projects. I love using the ferns in my vintage projects. We have some Victorian homes in Norfolk, VA that have lots of ferns hanging from them. I love that look of them hanging from the large front porches. 


On this frame I used Petaloo flowers, which is another favorite of mine. They are nice to me and allow me to purchase wholesale from them for my kits for my classes. Unlike some others that I dare not to mention! I love the velvet mini blossoms that they carry. It's a nice mix of flowers and they are great for adding that different texture to your sprays. Of course I make paper flowers too so I added a few to the frame. I actually have a tutorial on one of the flowers that are on this frame. You can find in on my YouTube Channel. It's called the Ruffled Roses using your McGill scallop punches. It's a very easy tut. 


I love using a mixture of things to add to my sprays. Buttons are my favorite to use. Sometimes I will add them to the centers of flowers and I will tuck them in between the spaces in my sprays.


I also used some Spellbinders on this project. The mix foliage dies and the "label four" Nestabilities. Love Spellbinders, they have all types of awesome dies to create with. 

Hope everyone enjoyed their Labor Day weekend! Don;t forget to join my crowd on UStream so the next time I do a random show like this you will be notified!
Enjoy your holiday!
((HUGS))
Anna


Sunday, August 26, 2012

Handmade Paper Flower Wreath - Fall


I love this time of year! When I was teaching class last night I started to create this wreath. In the class we learned how to create almost all of the flowers that are in this wreath. The only flowers I didn't teach in this class is the rolled flowers.


I used several different types of punches to create the flowers on this wreath. Mcgill Buttercup, Ek Success Retro Flower, Marvy Pointy Flower Petal. 


The flowers you see here are from a design I created in Make The Cut. These are ones I sell in my etsy store. They are called "Elizabeth Roses" , named after my daughter. 


This wreath was very time consuming but worth it! These are my favorite colors for fall! The crimson and yellowish orange color are a great pair to add to your fall projects!


Friday, August 24, 2012

Flower Home Decor Blog Hop


Hello and welcome to the Flower Home Decor Hop. We hope you will leave here super inspired today! If you just came from (Melissa Pinter) then you are on track. If you just stumbled upon my blog you may want to start at the beginning so you don't miss any of the gorgeous projects http://shannonleffew.blogspot.com .

We have 3 amazing sponsors today...
First up is Anna Fearer of More Paper Than Shoes she is offering a $20 gift certificate to her Etsy store here http://www.etsy.com/shop/morepaperthanshoes also please stop by her FB fan page and LIKE https://www.facebook.com/morepaperthanshoes
Next up is Creative Chaos that is offering a set of mixed holiday flowers you can stop by the Etsy store here www.etsy.com/shop/shannleffew2 and please stop by the FB fanpage and like here www.facebook.com/creativechaos
and last but not least is Scrapbook Stamp Society giving away 3 digi stamps


Here is my project I created for this fab blog hop:
A lovely handmade paper flower wreath. Love working with purple.


I used several different style of cut files and punches to create these wonderful flowers. I have used some svg files that I have created along with some that Kristy Ashe from Scraptastical Kreations has created too. I have also used EK Success and Mcgill punches as well!

I created this project using a wreath I found at A.C. Moore's and the berries are from Michaels. The feather was from the Ashland collection last year when they had their Halloween line out. Love those feathers.


You can find some of these wonderful flowers in my Etsy shop if you wanted to create your wreath using some of my flowers. I can customize these in any color you would like.


Don't forget to check out my tutorial on how to make the filler flowers I created for this wreath. See the video below:


Thanks for stopping by my blog :) leave a comment and show some love!

I hope you enjoyed the projects so far but there is more!

Your next stop on this hop is: (http://scrappingjudy.blogspot.com/)


Here is the complete lineup in case you get lost along the way

Friday, May 13, 2011

New Class Kit Avaiable

Altered Wooden Fence Ustream Class

This kit is now available on my blog here!
I had did a class on this fence a while back and it was deleted by mistake.
I had several people ask if I could start making some class kits up so they could create along with me! I thought it was a great idea! I picked this to be one of my first kit classes since so many commented on these cute little fences.
The class will be held on June 11th @ 9pm EST. The class will be recorded since I know that many of us live in different time zones.

I am still in the process of creating the peg board kits but I have a date set for it. I should have those kits up by the end of the weekend I hope..lol.
I can't wait to see you there!  

Sunday, April 17, 2011

Look at what's popping up.....


I found these popping up all over my craft table last night when I did my UStream class on them! These just tickle me to death to create. They are fast and super cute any where you put them. I thank everyone who came to class last night and I had such a wonderful time chatting with you ladies too! Please be sure to check out my next class on Saturday, April 23rd @ 9pm EST. I will be showing you how to make a shabby chic banner using cupcake liners and material, with a few extras too!